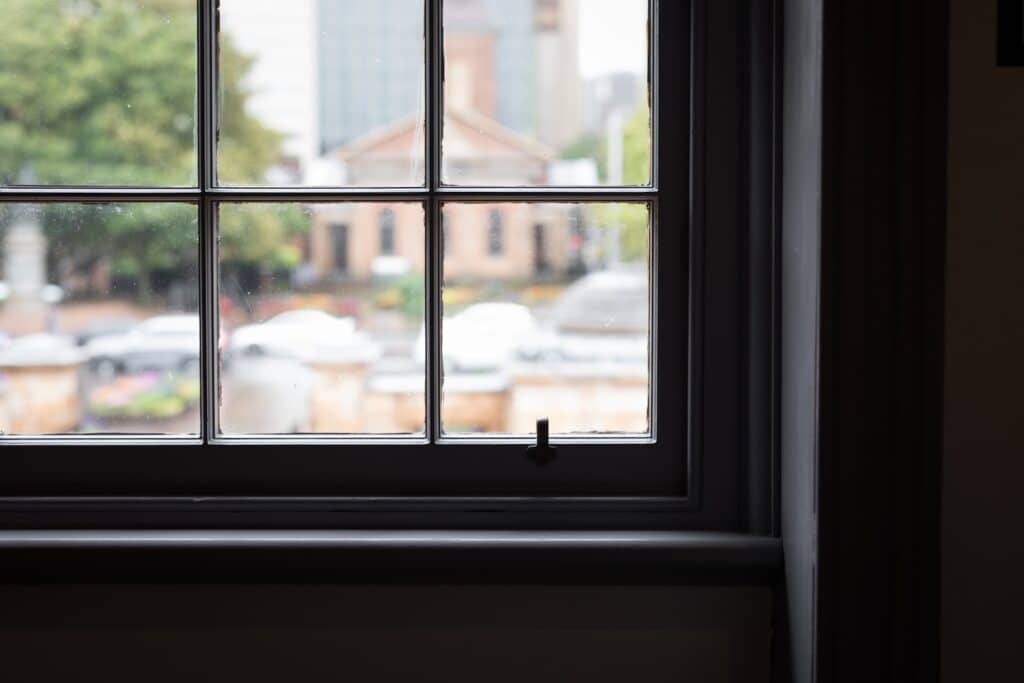
If your house feels drafty in winter or your AC never seems to keep up in summer, your windows might be the reason. Insulating and weatherproofing them is one of the easiest ways to boost comfort and lower your energy bills. But how you do it matters. Let’s walk through the smartest ways to insulate windows, when quick fixes work, and when it’s time to take a closer look at what’s really going on behind the walls.
Why Window Insulation Matters
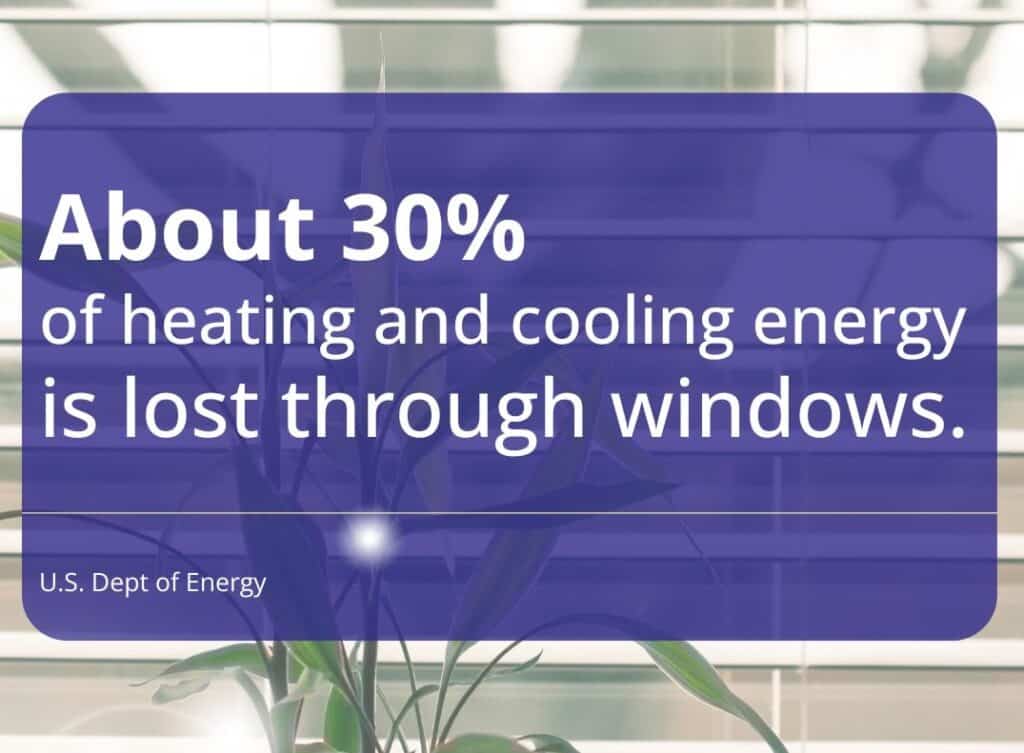
Windows play a big role in your home’s energy efficiency. According to the U.S. Department of Energy, about 30% of heating and cooling energy is lost through windows.
That’s nearly one-third of your energy bill slipping through the cracks…literally.
Signs you might have a window insulation problem:
- Drafts around the frames
- Uneven room temperatures
- Foggy or frosted windowpanes
- AC or heating is constantly running
Even if you’ve added insulation before, air leaks and poor sealing around the window frame can cancel out your efforts. That’s why it helps to look at both the glass and what’s around it.
Quick Fixes That Help Insulate Windows
If you’re not ready for a major project, here are a few low-cost options that can help seal out drafts:
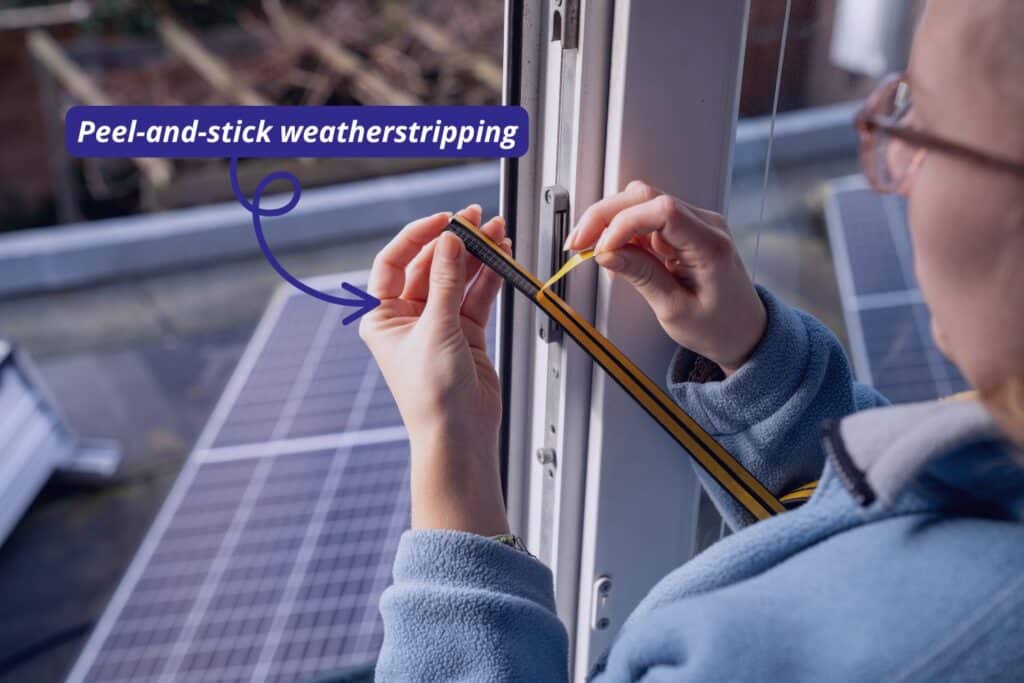
1. Weatherstripping: Add peel-and-stick foam strips along window sashes. It’s cheap, easy to install, and works well for movable parts.
2. Rope Caulk: This clay-like sealant can be pressed into gaps around stationary windows. It’s great for seasonal fixes.
3. Draft Stoppers: Use fabric tubes filled with rice or beans along the sill to block incoming air.
4. Insulation Film Kits: These clear plastic sheets shrink tightly over windows using a hair dryer. They create an extra barrier and cost about $10–$15 per window.
While these DIY options can help, they’re often temporary. If your home still feels uncomfortable after trying them, it’s time to dig deeper.
Long-Term Upgrades for Energy Efficiency
Looking for a more permanent solution? These upgrades improve both insulation and overall energy performance:
Foam Sealants
Spray foam can fill gaps between the window frame and the wall where air tends to leak. Just be careful not to overfill or block moving parts.
Interior Storm Windows
These add a second layer of glass or acrylic inside your existing windows. Some models are magnetic and removable.
Thermal Curtains or Cellular Shades
These help block heat loss in winter and sun exposure in summer. Look for products with an energy-efficiency rating.
Window Replacement
If your windows are old, damaged, or single-pane, replacing them with double- or triple-pane options can make a big difference. However, this is usually the most expensive route.
To make the smartest investment, start with a full energy inspection. It can help you avoid replacing windows when a simple sealant or adjustment could do the trick.
Weatherproofing the Whole Window Area
Glass isn’t always the problem. Air can sneak in through gaps between the window and the wall, or where trim and siding meet.
Key spots to seal:
- Around the window frame using exterior caulk
- Behind trim using foam or backer rod
- Under sills and at corners where flashing is missing or damaged
The challenge is, not all leaks are visible. That’s where diagnostic tools like blower door testing come in. They pressurize your home to detect even the smallest air leaks, especially helpful if you’ve already tried sealing windows but still feel drafts.
Don’t Forget About Ventilation and Air Balance
It’s possible to over-seal your home. Blocking too much airflow without managing ventilation can cause other problems like indoor air quality issues, moisture buildup, or pressure imbalances in the HVAC system.
That’s why proper insulation always goes hand in hand with proper ventilation. Knockout Inspections helps homeowners find that balance with services like duct design, airflow testing, and system diagnostics.
What It Really Costs to Fix vs Ignore It
DIY materials like film kits, weatherstripping, or caulk typically cost $10–$50 per window. Professional air sealing (around windows, doors, and attic areas) ranges from $200–$4,000 total, depending on home size and several other factors.
Window replacements can cost $500–$1,200 per window, depending on materials and energy rating.
On the other hand, the EPA estimates 10–20% savings on annual energy bills when homes are properly sealed and insulated. That adds up quickly, especially in extreme climates.
A professional inspection helps you figure out what’s necessary and what’s not.
Other Recommended Maintenance
While you’re working to insulate the windows, don’t forget these other key areas:
- Check attic insulation and crawlspaces
- Inspect exterior doors for similar air leaks
- Replace HVAC filters and consider a system tune-up
- Look for signs of moisture or mold near windows, which could mean poor sealing or ventilation
When to Call a Professional
You’ve done the DIY fixes, but your home still feels drafty. Or maybe your energy bills are rising even though nothing has changed.
These are signs it’s time for a professional energy efficiency assessment. Knockout Inspections can identify where energy is escaping, how your home is ventilating, and what’s worth fixing first. Our team uses blower door testing, duct analysis, and building science to give you real answers, not just guesses.
Wrapping It Up
Learning how to insulate windows is a great first step, but it’s not the whole story. True home comfort and efficiency come from understanding how your entire house works together, including windows, airflow, insulation, and all.
If you want to stop guessing and start saving, schedule a home inspection with Knockout. We’ll help you seal the right gaps, skip the unnecessary costs, and stay comfortable year-round.